
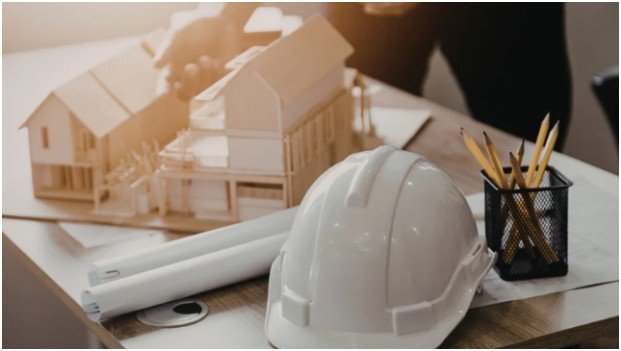
Building a house is one of the biggest projects you’ll ever take on. Whether you’re building your dream home or tackling a renovation, the sheer number of tasks can feel overwhelming. But here’s the secret to a smooth project: a solid construction timeline.
Trust me—without it, you’re in for a whirlwind of chaos. I’ve been there, and let me tell you, it’s much easier to stay on track when you break things down step-by-step.
In this blog, I’ll walk you through how to create a construction timeline that will keep your project on schedule and your stress in check. Ready? Let’s get into it!
Why Do You Need a Construction Timeline?
I remember starting my first big renovation project and thinking I could just “wing it.” Spoiler alert: It didn’t go well. As the work piled up and deadlines loomed, I realized that having a construction timeline wasn’t just a suggestion—it was essential.
A construction timeline is a plan that outlines all the key phases of the project, including start and end dates for each task, resources needed, and any dependencies (tasks that can’t begin until another one is finished).
It helps you stay on top of progress, prevents delays, and ensures that the right people and materials are at the right place at the right time.
How Do You Start Creating a Construction Timeline?
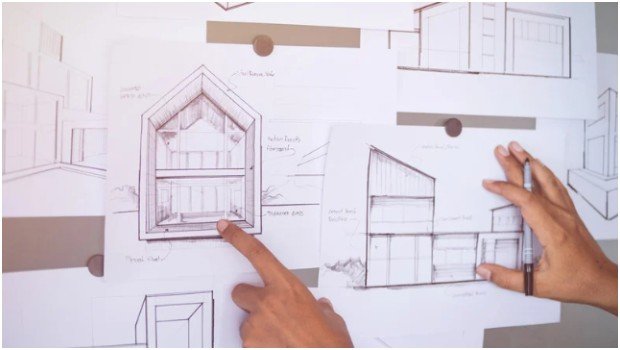
The first thing I did when building my timeline was sit down and define the project scope. Sounds simple, right? But this step is crucial.
Start by breaking your project into major phases. For example:
- Pre-Construction: Design, permits, and contractor selection.
- Site Preparation & Foundation: Clearing the land and pouring the foundation.
- Framing: Building the skeleton of the house (walls, roof, etc.).
- MEP: Mechanical, electrical, and plumbing work.
- Interior & Exterior Finishes: Painting, flooring, cabinets, etc.
- Final Inspections & Handover: Punch list, inspections, and final walkthrough.
Once you’ve got the phases down, it’s time to break them into specific tasks.
How Do You Sequence Tasks and Dependencies?

When I first started creating my construction timeline, I didn’t fully grasp how important task sequencing is. But I quickly learned that dependencies are key.
For example, you can’t start framing the house until the foundation is poured and set, and you can’t install drywall before electrical wiring is in place.
Here’s a quick breakdown of the sequencing process:
- Identify Predecessor Tasks: These are tasks that must be completed before the next one can begin. For example, excavation must be done before pouring the foundation.
- Map Out Overlapping Tasks: Some tasks can happen simultaneously. For example, you can begin landscaping while the interior finishes are being completed.
- Set Milestones: Make sure to include key progress markers like “Foundation Poured” or “Roof Completed” to track progress and stay motivated.
How to Estimate Durations and Assign Resources?

After you’ve sequenced your tasks, it’s time to figure out how long each phase will take. This is where things can get tricky, especially if you’re new to construction.
I always start by talking to my contractors and suppliers to get a realistic sense of how long each task will take. They can help you estimate the time needed for each phase based on their experience.
Additionally, don’t forget about resources. Assign specific teams, equipment, and materials to each task. For example, you’ll need specific machinery for excavation, different teams for plumbing and electrical, and materials like concrete and steel for the foundation.
Another important tip? Contingency planning. I learned early on that things don’t always go as planned. Unexpected delays, weather, or material shortages can cause setbacks, so I always build in buffer time—at least 10-15% extra for each phase.
How to Track Progress with Your Construction Timeline?
Once your timeline is in place, it’s important to monitor and update it regularly. A construction timeline is a living document—it evolves with the project. I can’t tell you how many times I had to make adjustments during my projects, but that’s normal!
I recommend checking the timeline at least once a week. During these check-ins, you’ll review what’s been completed, what’s next, and what needs adjustment. Use your project management software (or even a simple spreadsheet) to make these updates and stay on track with the help of new technology in construction.
How to Create a Construction Timeline in 5 Easy Steps
If you’re wondering where to begin, here’s how I approach it with these steps in construction project design and correct timeline for it:
- Define the Project Scope & Phases: Break down the project into manageable chunks.
- Sequence Tasks & Identify Dependencies: List tasks in order of completion and note which tasks depend on others.
- Estimate Durations & Assign Resources: Talk to your contractors to estimate how long tasks will take, and allocate resources.
- Choose a Tool for Tracking: Use Gantt charts, project management software, or a simple spreadsheet to create your timeline.
- Monitor & Update Regularly: Review your timeline weekly to make sure everything’s on track.
FAQ: What You Need to Know About Construction Timelines
1. How do I handle delays in my construction timeline?
Delays are inevitable, so the best thing you can do is plan for them. Build in buffer time for bad weather, late material shipments, or unexpected setbacks. When delays do happen, adjust your timeline and communicate with your team so everyone stays on the same page.
2. What’s the most important part of a construction timeline?
In my experience, task sequencing is crucial. Getting the order of tasks right ensures everything flows smoothly and minimizes costly mistakes or delays. It’s also vital to account for dependencies, like making sure electrical work is completed before drywalling.
3. Can I create a construction timeline myself, or do I need a professional?
You can absolutely create your own construction timeline. If it’s a large-scale project, I recommend using project management software to make it easier to manage. But for smaller projects, even a detailed spreadsheet works just fine. Just be sure to do your research and include as many details as possible.
Wrapping It Up: The Real Secret to a Successful Build
Creating a construction timeline might seem overwhelming at first, but once you break it down step-by-step, it’s actually pretty straightforward. The key is to stay organized, be proactive about scheduling, and adjust as you go.
Every successful construction project I’ve managed was built on a solid timeline. Trust me, taking the time to plan and keep track of every phase pays off in the long run.
So, grab a pen and paper (or open your favorite project management tool), and start planning your timeline. Your future self will thank you!
Key Takeaways
- Plan & Sequence: Break down the project into phases and sequence tasks with clear dependencies.
- Time Estimates: Be realistic about how long each task will take and allocate resources accordingly.
- Monitor & Update: Construction timelines are living documents—check them regularly and adjust as needed.